Sorry all my blogging buddies for not being around much last week. It was a very busy week for us and I had some extra jobs I took on that took up my idle time. I worked on some shower invitations which I will share with you all here and began more tutus for Bean and some of her cousins. I didn't get as much done on those as I would have liked but I guess that's what this week is for, huh?
A few weeks ago I shared a gift I made for a cousin's
wedding shower. Now this cousin is being thrown a lingerie shower and I was asked to make some cute invitations for it. I hope that everyone likes them because they are not likely to be reproduced any time soon. My hands are still sore from all the cutting I did.
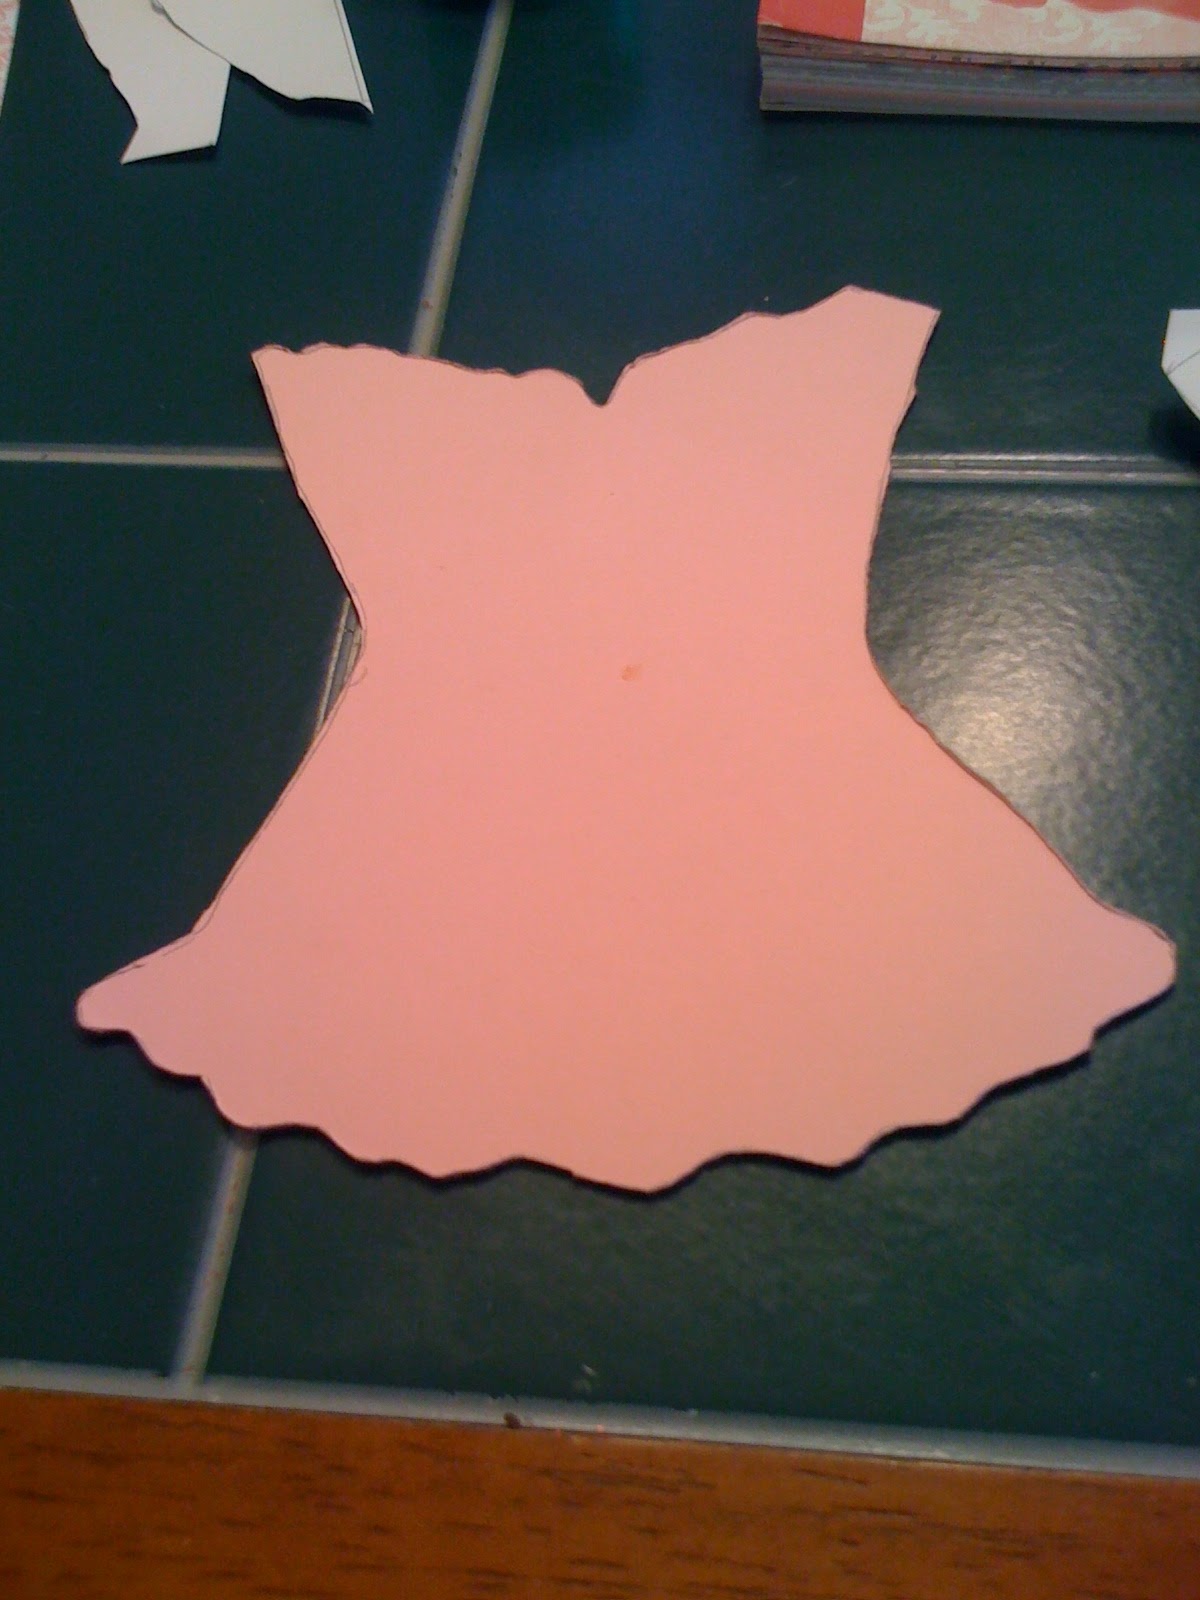
I scoured the internet for a cute corset digital image to use as a template but had a hard time finding anything that would work. I finally found a picture and printed it out to use as my cutting guide. Now, this is the old-school way to do this, you know. Really dedicated and fortunate cardsters have die-cut machines like a Silhouette or a Cricut to do this manual labor for them. I am not that fortunate yet. It is on my wish list for Santa though. So far, "Santa" hasn't laughed in my face when I shared this want with him so maybe there's a chance.
 |
| Corset template. |
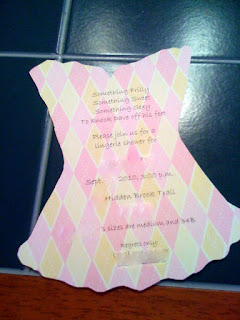
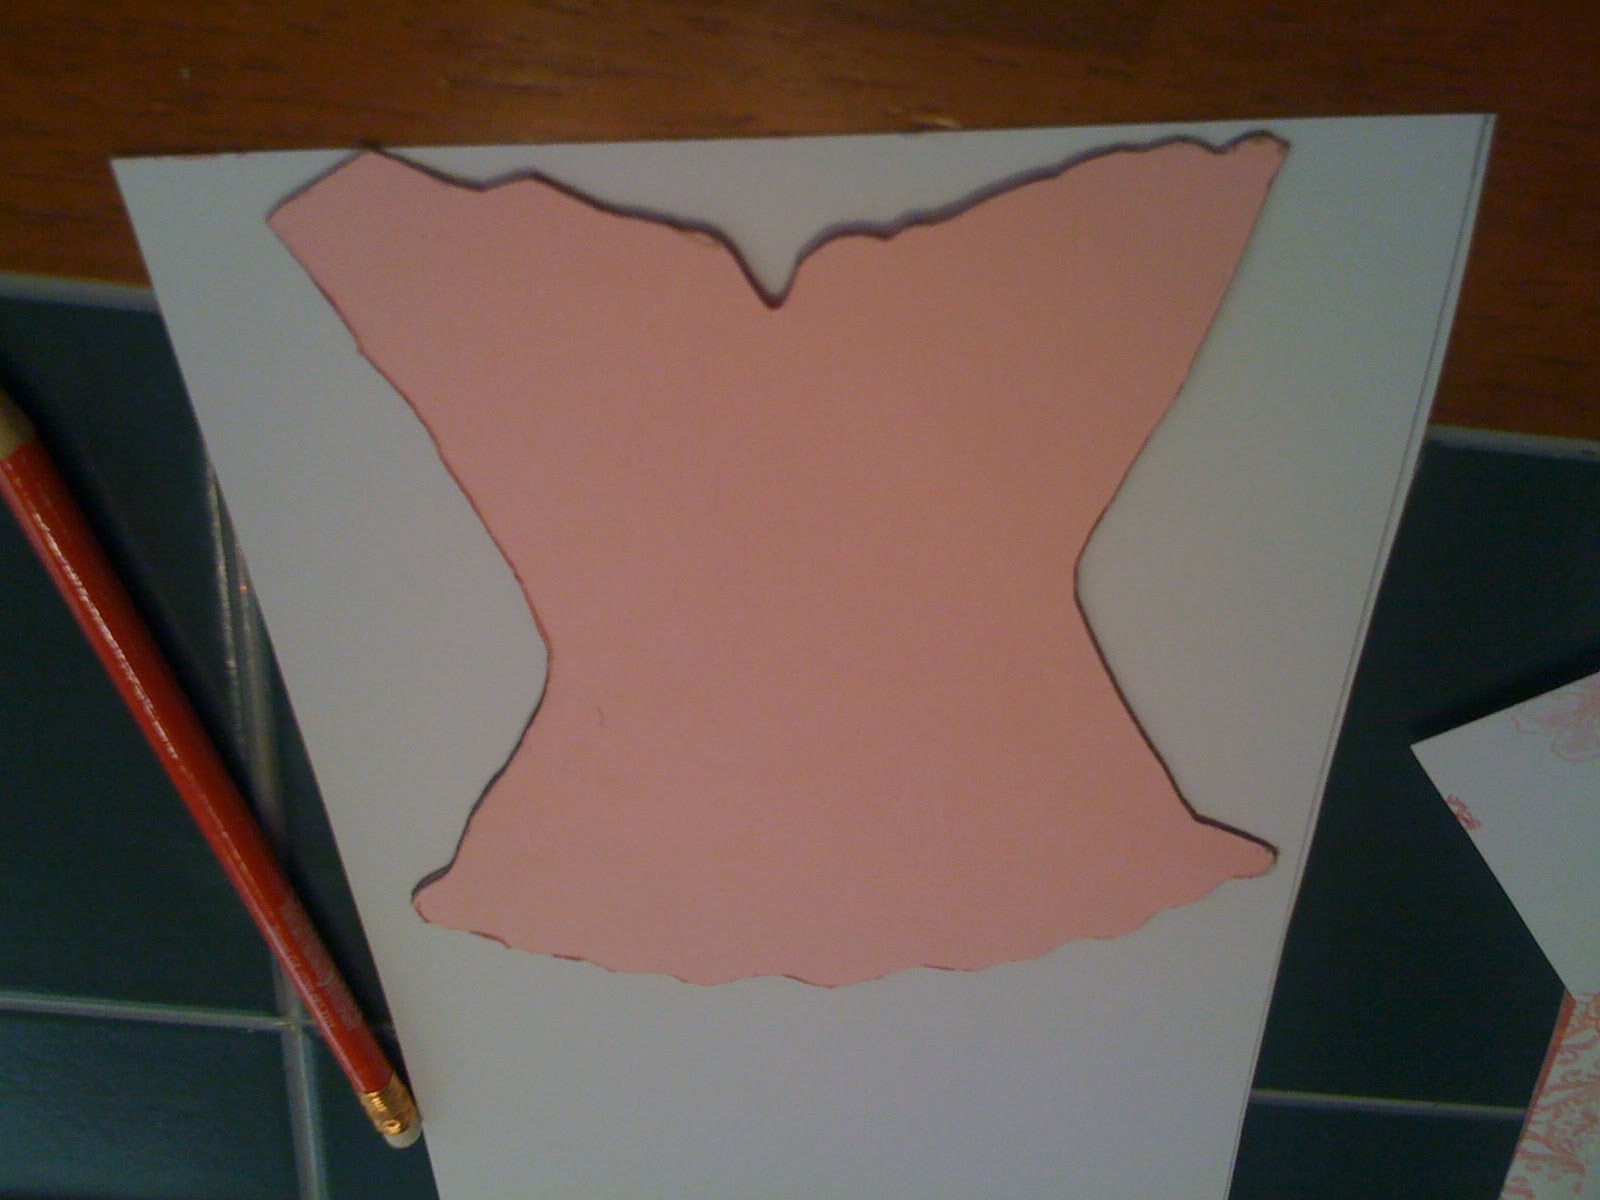
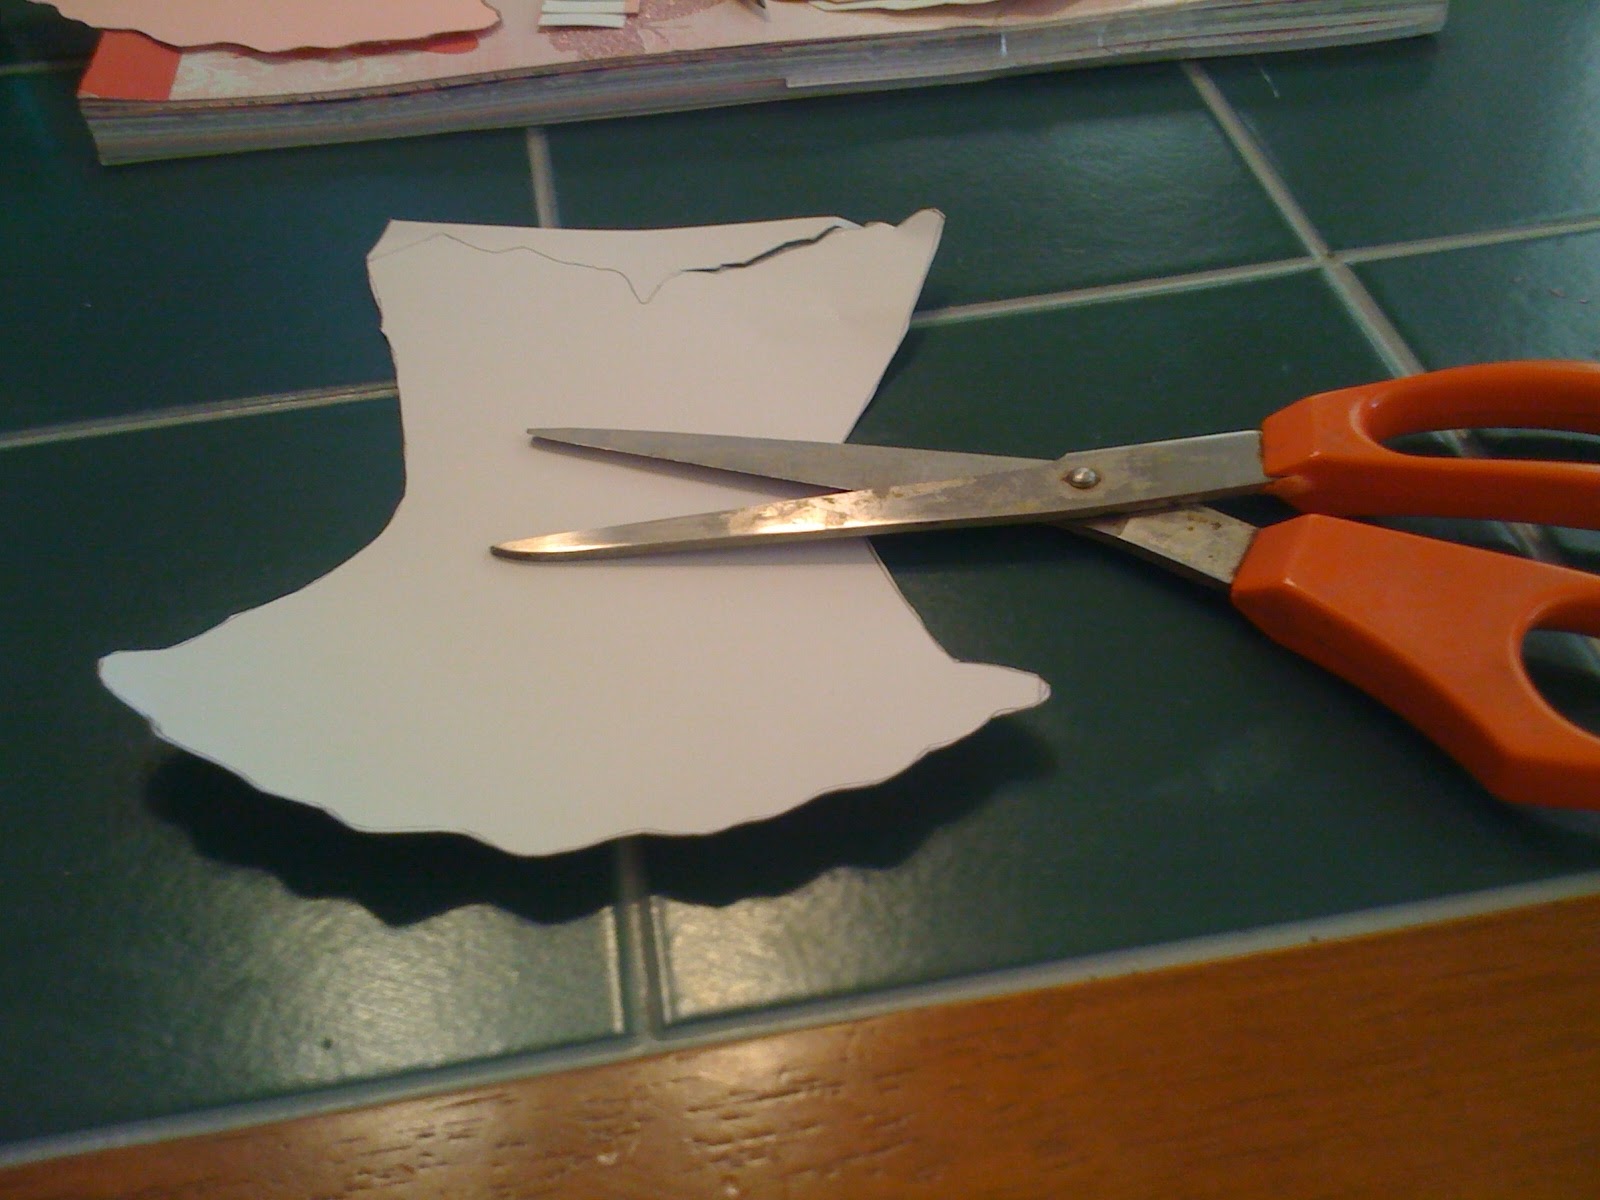
After I printed out the party information on the pretty card stock I picked out, I traced the shape of the corset around the printed area. I traced the image on the back of the card stock after holding it up to the light and trying to center it. This was a little tricky and some of the cards are a little off-center but...it was the best I could do. Then I started cutting...and cutting...and cutting. Once the fronts were all traced and cut out, I took each one and went back and traced them onto the cardstock I picked out for the back of the invite. The cutting continued. Ugh. My hands became one with my scissors. I had to pry my fingers off when the whole lot was done.
 |
| All the details printed on the pretty card stock. | | | |
|
 |
| Tracing out the corset on the back of the printed card stock for the front of the invitation. |
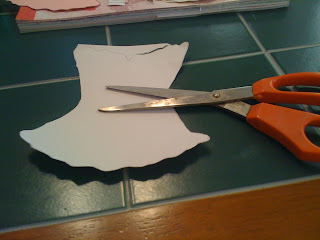 |
| Cutting out the front. |
 |
| Isn't it pretty? |
 |
| Using the front to trace out the back for a better fit. |
Once the fronts and backs were all done, I matched them up and trimmed off any excess here and there. Then I took the backs of each invite and added a scalloped trim I punched out using a Martha Stewart punch I won awhile back. This was a little tricky and I had to piece these parts together since the bottom of the corset was curved. I could have used some ribbon but decided to go with the punched paper instead to give it a lacey look around the bottom.
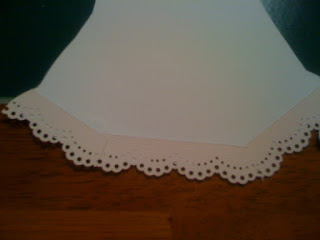 |
| Lace around the bottom. |
Then I glued the front and back together and went around the whole thing again trimming off any excess.
 |
| Almost done. |
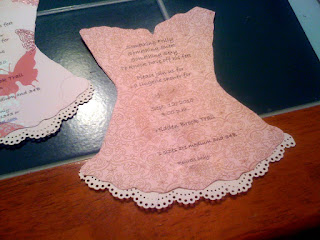
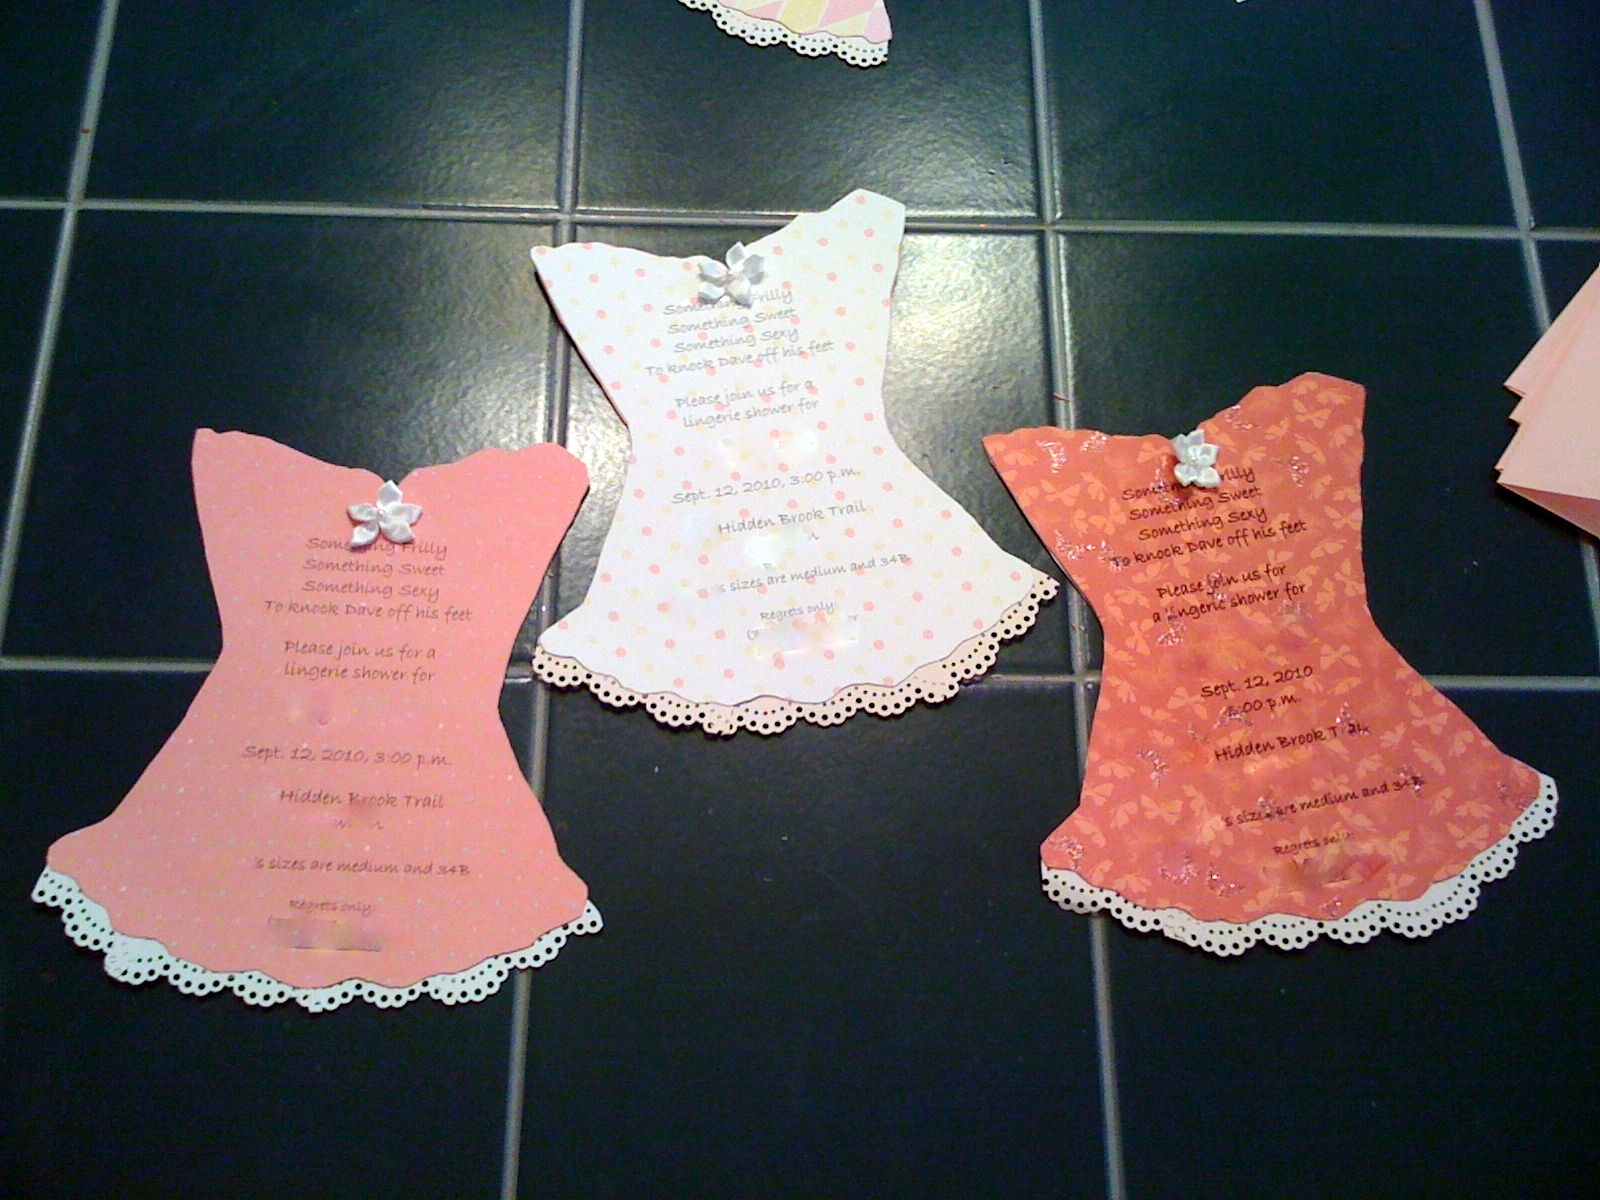
Once everything was all put together, I added a little pearl and ribbon embellishment to finish it off.
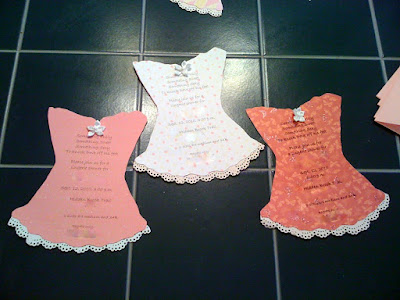 |
| Corset lingerie shower invitation. |
I think they turned out nice. I truly hope the hostess and the bride like them and that it turns out to be a great party.
I'm going to link this post up with a few crafty blog parties this week.


I think they turned out really cute! Though I can feel certain parts of my hands starting to feign ache to encourage me not to do something like this tonight. ;)
ReplyDeleteThey are adorable, kiddo!
ReplyDeleteThey turned out really cute. I love to make my own invites too!
ReplyDeleteSusan,
http://entertainexchange.blogspot.com/
Party and Entertaining Inspiration
You freakin rock and get extra points for doing it by hand!!
ReplyDeleteThey are AWESOME!!!
ReplyDeleteThose are really cute. I got a cricut about 2 months ago & it's still in the box. I don't think I'll ever have time to use it. Ugh.
ReplyDeleteThese turned out so cute-I just love them-wish I had a shower invite!
ReplyDeleteWhere did you find your template??
ReplyDelete@Anna Williams Hi Anna! I believe I Googled "corset" and found a few different images and outlines and I used those as go-bys. I couldn't get the top to look like I wanted and tried to change it a little though.
ReplyDelete